
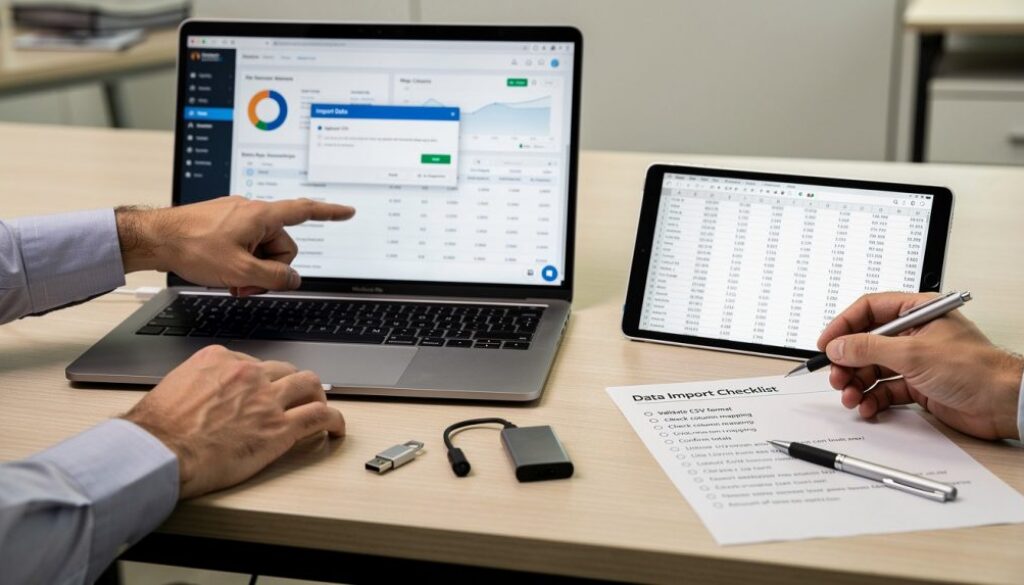
QuickBooks Online Data Migration: A Practical Starter Guide
Moving your accounting data to a new system feels daunting, but QuickBooks Online data migration doesn’t have to be complicated. Many small business owners delay the switch because they worry about losing records or disrupting their workflow.
This guide walks you through the entire process with practical steps and real solutions. You’ll learn how to prepare your data, choose the right approach, and avoid costly mistakes that slow down your transition.
Why QuickBooks Online Matters for Your Business
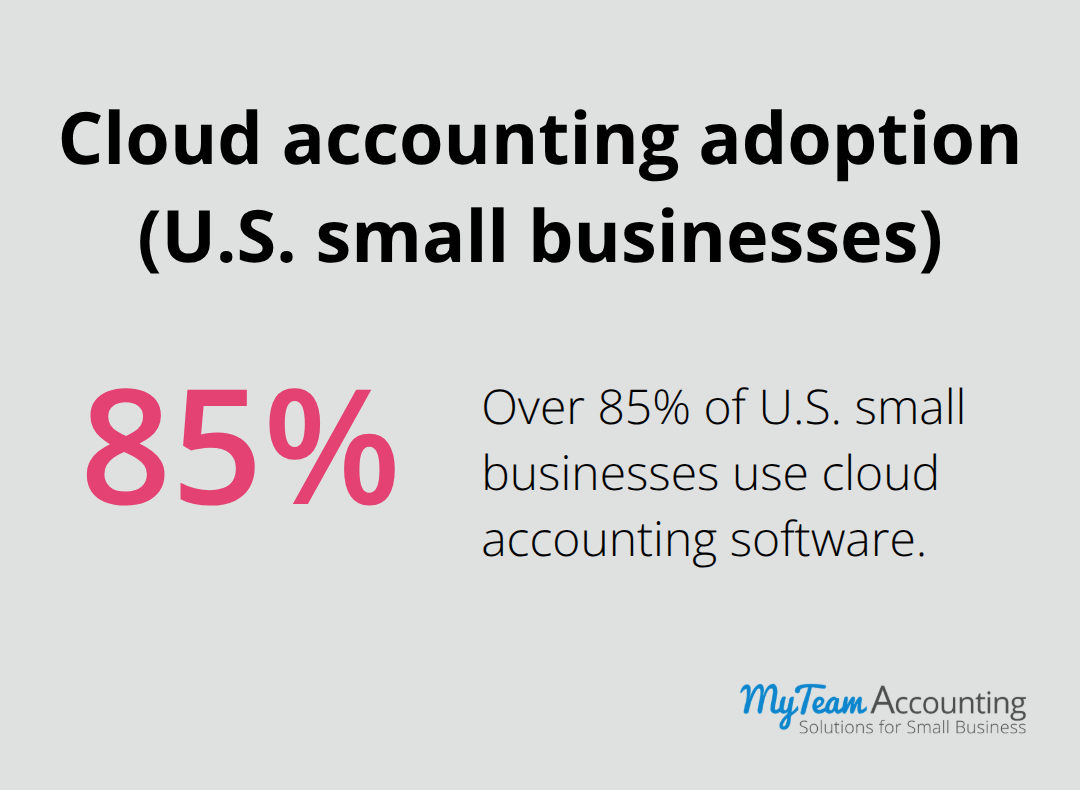
Moving to QuickBooks Online isn’t just about switching software-it’s about transforming how your accounting actually works. Cloud accounting has moved beyond a trend; according to The Journal of Accountancy, over 85% of small businesses now use cloud accounting software, which means staying on QuickBooks Desktop puts you in a shrinking minority. The real issue isn’t whether to migrate, but how quickly you can do it without disrupting operations.
Your team accesses data from anywhere
QuickBooks Desktop locks your data to a single computer or a network you control. QuickBooks Online eliminates this constraint entirely. Your bookkeeper can reconcile accounts from a coffee shop, you can review financial reports on your phone during a client meeting, and your accountant can access data without requesting files via email. This matters most when you have remote team members or work with outsourced professionals, which describes most growing small businesses. Real-time collaboration means your accountant or bookkeeper can flag issues immediately instead of waiting for weekly check-ins, and multiple people can work simultaneously without file-locking conflicts. The security concern people raise-storing data in the cloud-actually reverses on QuickBooks Online. Automatic daily backups and bank-grade encryption mean your data stays safer than it would on a desktop computer vulnerable to hardware failure or ransomware.
Automation reduces manual work significantly
QuickBooks Desktop requires manual data entry for nearly everything. Bank transactions arrive as statements you must categorize by hand. Customer payments require manual matching to invoices. Recurring transactions demand copying and pasting. QuickBooks Online connects directly to your bank, automatically downloads and categorizes transactions, and learns your patterns over time. Automation reduces manual effort and businesses save 8–10 hours per week on accounting tasks. Integration with hundreds of third-party apps (Stripe, PayPal, Square, Bill.com, and others) means invoices sync automatically, payments post instantly, and expense reports flow directly into your accounts. Manual data entry introduces errors at a consistent rate, and QuickBooks Online’s automation eliminates most of those entry points entirely.
You scale without adding headcount
As your business grows, QuickBooks Desktop demands more infrastructure investment and IT support. You need additional licenses, network upgrades, and someone to manage backups and security patches. QuickBooks Online scales with you at a predictable monthly cost. Add users, increase transaction volume, or expand to multiple locations-the system handles it without requiring new hardware or IT staff. This cost efficiency (especially compared to enterprise systems like NetSuite or Sage Intacct) makes QuickBooks Online the practical choice for small businesses that want to grow without accounting becoming a bottleneck. Your next step involves preparing your current data for the actual migration process.
How to Prepare and Execute Your QuickBooks Online Migration
Audit Your QuickBooks Desktop File First
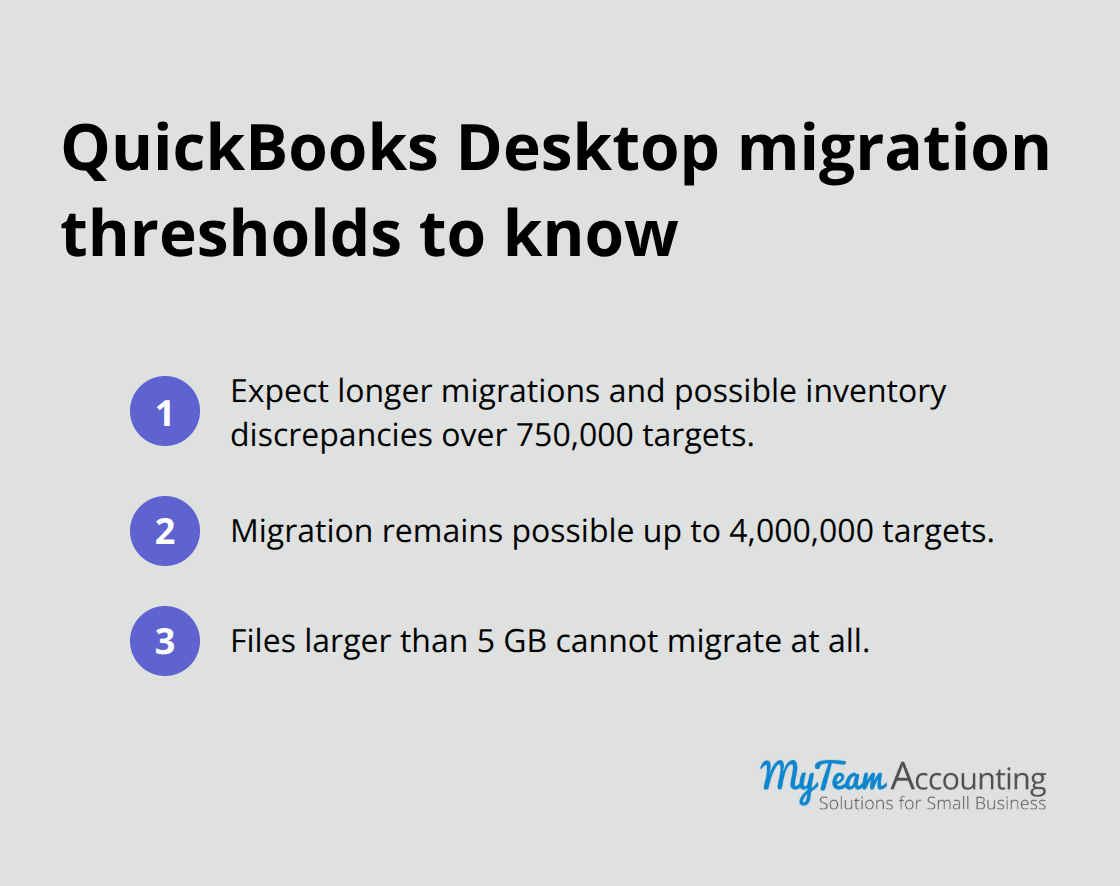
Start by auditing your QuickBooks Desktop file before you make any changes. Open your company file and press F2 to check your target count, which represents every transaction, customer, vendor, and list item in your system. If your count exceeds 750,000 targets, you should expect longer migration times and potential inventory discrepancies, though migration remains possible up to 4,000,000 targets. Files larger than 5 GB cannot migrate at all, so verify file size before you proceed.
Next, run your most recent Profit & Loss statement, Balance Sheet, Accounts Receivable aging report, and Accounts Payable aging report, then print or export these as your baseline. These reports become your verification checklist after migration completes. You should reconcile all accounts to your bank statements and clean your data ruthlessly by removing duplicate customer and vendor records and eliminating inactive items that no longer apply to your business. Incomplete or messy data transfers into QuickBooks Online and becomes exponentially harder to fix afterward, so you should invest time in cleanup now rather than spend weeks untangling problems later.
Verify Your Access and Prepare Your System
You must sign in as the Primary Admin with All Access permissions to your Desktop file before migration begins. Back up your company file locally to your hard drive using File > Create Backup, and update QuickBooks Desktop to the latest version. These three steps prevent access issues, protect your original data, and ensure compatibility with the migration tool.
Select the Right Migration Method for Your Situation
Your migration method depends on your file complexity and comfort level. If you have a single company file under 350,000 targets with straightforward data, QuickBooks Online’s built-in migration tool handles the job automatically and costs nothing. For multiple files or files between 350,000 and 4,000,000 targets, the Accountant Batch Migration Tool moves up to 50 files simultaneously and provides more control over inventory settings and field mapping.
My Team Accounting recommends working with a certified QuickBooks ProAdvisor for files exceeding 500,000 targets or containing complex customizations, as professional guidance prevents costly mapping errors and ensures your chart of accounts aligns properly between systems.
Execute the Migration and Validate Your Data
You select Migrate Multiple Company Files in QuickBooks Desktop, add your files to the migration list, and map each Desktop company to either an existing QuickBooks Online company or a new 30-day trial company created within the migration dashboard. The system validates your data before migration starts, and if validation fails, you should adjust your mappings or contact a migration specialist rather than proceed with incomplete data. Migration typically completes within 24 hours for standard files.
Verify Accuracy and Reconnect Your Integrations
Immediately after migration finishes, you should verify accuracy by comparing your baseline reports against new QuickBooks Online reports, reconciling your bank accounts, and spot-checking 10–15 customer invoices and vendor bills to confirm data transferred correctly. You reconnect your bank feeds through Banking > Link Account and reauthorize integrations like Stripe and PayPal. Configure your sales tax settings to match your previous setup, and your system is ready for daily operations. Once your QuickBooks Online environment is live and verified, you face the reality that common pitfalls can still emerge if you don’t know what to watch for.
What Goes Wrong During Migration and How to Prevent It
Data does not always transfer cleanly, and the most dangerous migrations are the ones that appear successful until you start using QuickBooks Online for real work. The gap between a technically completed migration and an actually usable system often reveals itself weeks after go-live, when your team discovers missing customer records, misaligned account codes, or transactions that did not transfer at all. Migration errors occur frequently when QuickBooks Desktop remains open during the migration process, which stops the entire operation mid-transfer and leaves your data in limbo. QODBC driver problems create similar havoc, requiring Windows permission adjustments or DSN fixes that most business owners do not know how to troubleshoot. The real cost is not the technical error itself but the operational disruption that follows. Your bookkeeper spends three hours manually recreating customer records instead of reconciling accounts. Your accountant discovers that your chart of accounts does not match your Desktop version and must rebuild twenty custom reports. These are not minor inconveniences; they are direct hits to your cash flow and team productivity.
High-Volume Files Demand Extra Validation Work
QuickBooks Desktop files exceeding 750,000 targets migrate successfully but often contain inventory discrepancies and take substantially longer to complete. If your file reaches 1,500,000 targets or higher, you should contact a migration specialist before you start, not after problems appear. The Accountant Batch Migration Tool supports files up to 4,000,000 targets, but operating at that scale introduces real risk. Your pre-migration baseline reports become non-negotiable at this volume. You must print or export your Profit & Loss, Balance Sheet, Accounts Receivable aging, and Accounts Payable aging reports before migration starts, then run identical reports in QuickBooks Online immediately after migration completes. Line-by-line comparison catches discrepancies that automated validation misses. If your AP aging shows $47,000 in unpaid invoices in Desktop but only $44,800 in Online, that $2,200 gap represents a real problem that will not resolve itself. Most business owners skip this verification step because it feels tedious, but skipping it guarantees you will discover problems after your team has already started using QuickBooks Online for daily operations.
Chart of Accounts Misalignment Creates Cascading Problems
Mapping errors between your Desktop chart of accounts and QuickBooks Online occur when account names do not match exactly, account numbers shift, or sub-accounts do not transfer to the correct parent accounts. QuickBooks Online handles account structure differently than Desktop, and if your accountant set up custom account hierarchies in Desktop, they will not migrate automatically. One missed mapping between a Desktop account and its QuickBooks Online equivalent means every transaction posted to that account in Desktop disappears into a default holding account in Online. Your revenue reports show incomplete totals. Your expense tracking fragments across multiple accounts. Your tax preparation becomes a reconciliation nightmare. A certified QuickBooks ProAdvisor can validate your account mapping before migration executes, especially if your file contains more than 100 accounts or custom sub-account structures. The cost of professional validation upfront is substantially lower than the cost of rebuilding your chart of accounts and re-categorizing hundreds of transactions after migration completes. If you choose to handle mapping yourself, create a detailed spreadsheet matching every Desktop account number and name to its corresponding QuickBooks Online account, then have someone outside your accounting department verify it independently. Fresh eyes catch mistakes that the person who built the mapping misses consistently.
Test Integrations and Workflows Before Full Rollout
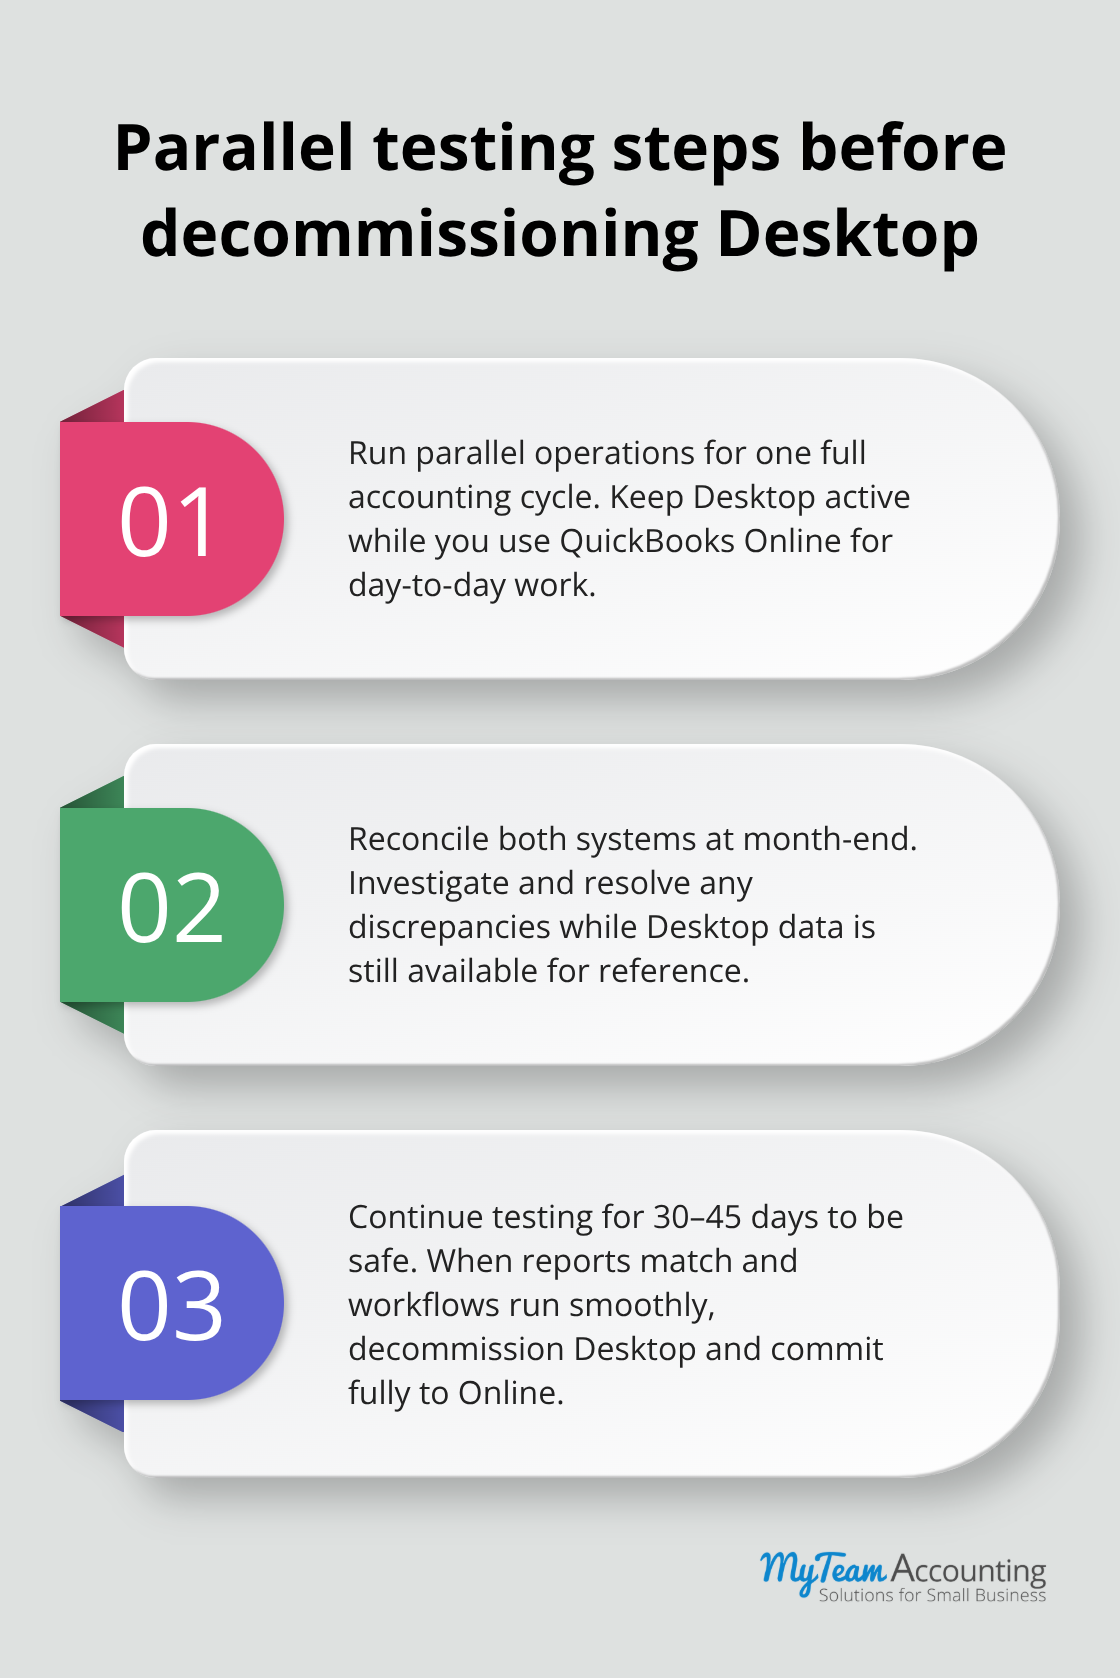
Failing to test your integrations in QuickBooks Online before your team switches entirely from Desktop guarantees problems. Bank feeds might not download correctly if you do not reauthorize your bank connection properly. Stripe or PayPal integrations might stop syncing invoices if the account mappings do not carry over. Your bill.com or autopay workflows might break because QuickBooks Online structures vendor bills differently than Desktop. The solution requires you to run parallel operations for one full accounting cycle before you shut down QuickBooks Desktop permanently. Keep Desktop active, run your actual business in QuickBooks Online, then reconcile both systems at month-end. If discrepancies appear, you catch them while you still have Desktop data to reference and can fix problems without disrupting your accounting records.
Final Thoughts
QuickBooks Online data migration succeeds when you treat preparation and validation as seriously as the transfer itself. Your baseline reports, cleaned data, and verified account mappings prevent the costly problems that emerge weeks after go-live. The migration process itself takes one to three days, but the real work happens before and after that window-rushing through pre-migration cleanup or skipping post-migration verification creates operational friction that compounds over time.
After migration completes and your team runs through a full accounting cycle in QuickBooks Online, your next priority involves optimizing your new system for ongoing efficiency. Connect your bank feeds, authorize your payment processors, and integrate your invoicing tools so transactions flow automatically into your accounts. This automation compounds over months and years, saving your team thousands of hours that you can redirect toward growing your business instead of managing data entry.
Support exists throughout your migration journey, and certified QuickBooks ProAdvisors specialize in complex migrations and can validate your mappings, oversee your data transfer, and train your team on QuickBooks Online workflows. Intuit provides free assisted migration, phone support, and step-by-step guides at no charge. The investment in professional guidance during migration pays for itself through prevented errors and accelerated go-live timelines.