

QuickBooks Online Onboarding: Fast-Track Setup for New Users
Getting QuickBooks Online set up correctly from day one saves time, reduces errors, and puts your business on solid financial footing. Many new users rush through initial configuration, only to face complications later when data doesn’t align or processes break down.
This guide walks you through a structured onboarding approach that takes the guesswork out of setup. You’ll learn exactly what to prepare, how to configure your system properly, and which integrations matter most for your business.
What to Prepare Before Opening QuickBooks Online
Before you launch QuickBooks Online, assemble the right information and make deliberate decisions about how your business will be structured in the system. This preparation phase determines whether your setup takes two hours or two weeks, and whether your financial data remains reliable months from now. Most businesses skip this step entirely and regret it when they discover duplicate accounts, missing transactions, or tax data that doesn’t reconcile with their actual filings.
Collect Essential Financial Documents
Start by collecting every bank statement, credit card statement, and loan document from the past 12 months, along with your most recent tax return and any year-to-date payroll records. These documents establish your opening balances and reveal which accounts you actually use. Next, list every bank and credit card account you plan to track in QuickBooks Online, including business loans, lines of credit, and even savings accounts earmarked for taxes. Many business owners forget about secondary accounts until mid-year, then scramble to reconstruct months of transactions. Gather your vendor invoices and customer invoices from the past year as well, though you won’t import all of them-this history helps you identify which customers and vendors matter most and what payment terms you’ve actually been using.
Design Your Chart of Accounts structure
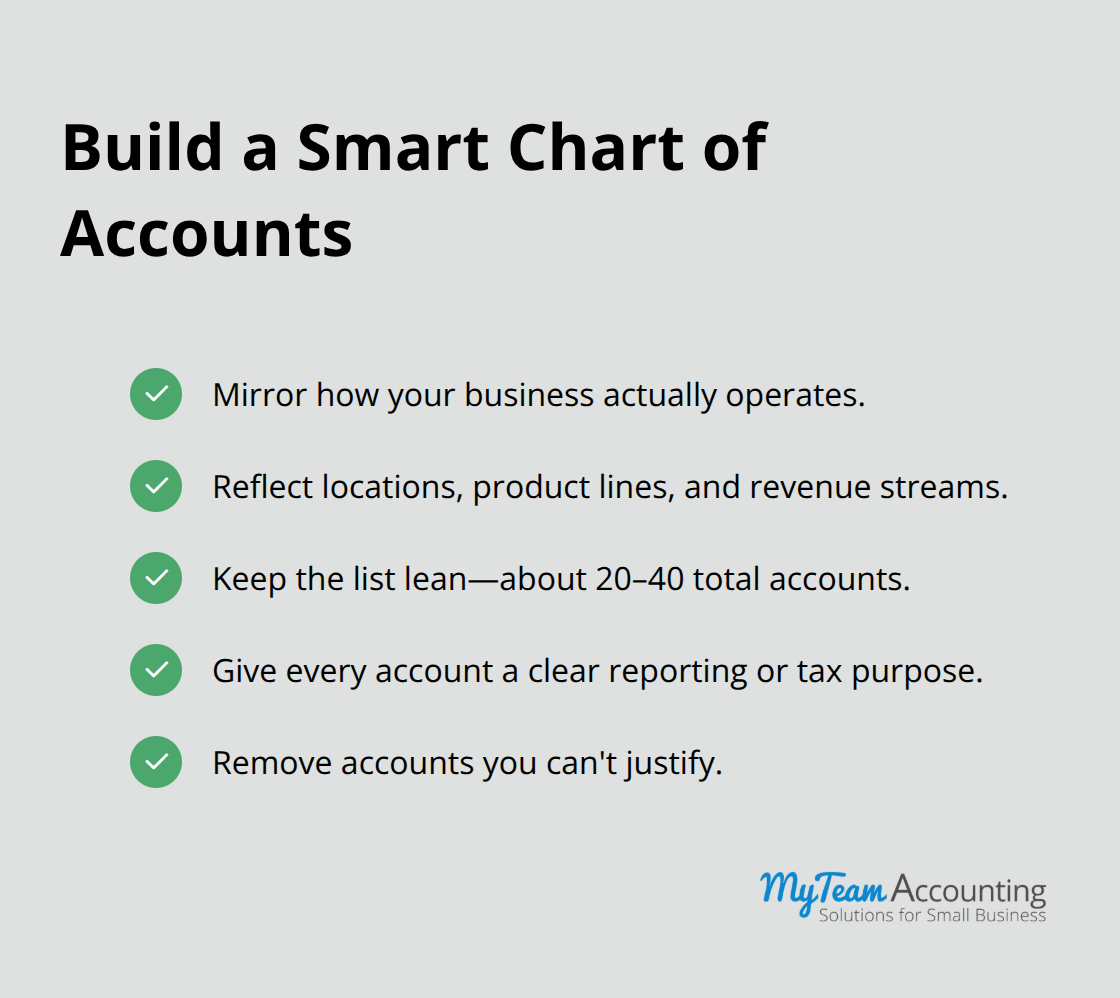
Your Chart of Accounts structure makes or breaks your financial reporting and tax preparation. Rather than accepting QuickBooks Online’s default account list, build one that mirrors how your business actually operates. If you have multiple locations, product lines, or revenue streams, your Chart of Accounts should reflect those divisions so you can run meaningful reports without guesswork. Avoid the common mistake of creating too many accounts-most small businesses need between 20 and 40 accounts total, not 200.
Establish Equity and Accounting Method
Include separate accounts for owner draws, owner contributions, and retained earnings to keep equity properly balanced. Define whether you’ll use cash basis or accrual accounting now, not during setup, because this choice affects how you categorize expenses and when you record income. With cash vs accrual accounting, the cash method records income and expenses when they’re paid, while the accrual method records them as they’re earned. Accrual accounting typically makes sense if you extend credit to customers or carry inventory; cash basis works for service businesses with immediate payment. Finally, identify the three to five financial reports you’ll actually run every month-most businesses need a Profit and Loss statement, Balance Sheet, and Accounts Receivable aging report. This clarity prevents you from building a system full of unnecessary detail that slows down your close process without adding value. With your documents organized and your account structure mapped out, you’re ready to configure QuickBooks Online itself and establish the settings that will support accurate, efficient financial management.
Configuring QuickBooks Online for Accuracy and Control
Now that your Chart of Accounts and financial documents are organized, you need to translate that planning into actual system configuration. The settings you choose in the first hour determine whether QuickBooks Online becomes a reliable financial tool or a source of constant frustration.
Access Company Settings and Establish Foundational Preferences
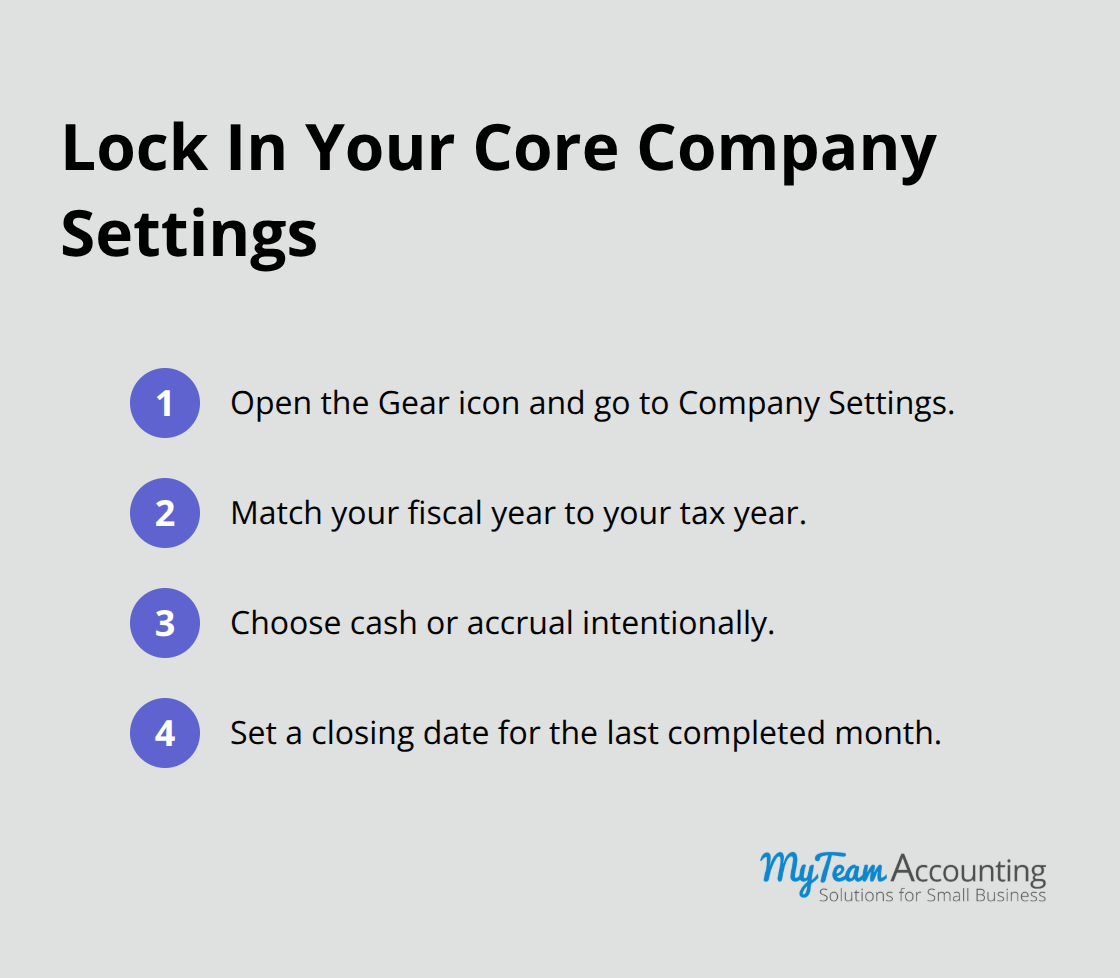
Start at the Gear icon in the top right corner and navigate to Company Settings. Set your fiscal year to match your tax year, not the calendar year, because QuickBooks uses this setting to organize your financial reports and tax forms.
Configure User Access and Permission Levels
User access control separates careless mistakes from intentional fraud, so configure permission levels before anyone else touches your file. Create a user account for yourself as the admin, then add team members with restricted access based on their actual job duties. Your bookkeeper needs access to bank reconciliation and expense entry but should never touch payroll or tax settings. Your accountant needs read-only access to reports and the Chart of Accounts but shouldn’t modify customer invoices. QuickBooks Online allows you to restrict access by module, transaction type, and even specific account ranges, so use these controls rather than giving everyone full access for convenience.
Set Opening Balances and Import Your Chart of Accounts
Set opening balances for each bank and credit card account on your official start date in QuickBooks Online, which should match your first bank statement you’ll reconcile in the system. If you’re starting mid-year, pull your bank statements from January 1 through your start date, then enter the opening balance figure that reconciles to your first official statement. This approach eliminates the temptation to import months of historical transactions that you’ll never fully reconcile. Import your Chart of Accounts through the Settings menu using the CSV template, which preserves account numbers, types, and detail classifications that manual entry would botch. Verify the imported accounts appear correctly, then add opening balances for any liability or equity accounts that carried forward from prior periods. With your company settings locked in and your account structure imported, you’re ready to connect the bank and credit card accounts that will feed live transaction data into your system.
Data Migration and System Integration
Import Historical Data Strategically
Importing historical data ranks among the highest-risk tasks in QuickBooks Online onboarding because a single formatting error or missed field can cascade into duplicate transactions, misaligned balances, and months of reconciliation chaos. Limit what you import to only what you absolutely need: your Chart of Accounts, opening balances for customers and vendors who owe you money or whom you owe money to, and any outstanding invoices or bills from your prior system. Do not import twelve months of historical bank transactions. Instead, set your opening balance on your official start date and reconcile forward from there. This strategy eliminates the temptation to reconstruct ancient transactions and keeps your focus on accuracy going forward.
When you import customers and vendors, verify that the contact fields you’re importing actually exist in QuickBooks Online’s supported fields, because the system will silently drop unsupported data without warning. Test your import with a small batch first-perhaps your top five customers and vendors-then review the results before you import your full list. If you encounter errors, QuickBooks Online’s import tool provides specific feedback about which rows failed and why, so read those messages carefully rather than retrying blindly.
Connect Bank and Credit Card Accounts Safely
Bank and credit card connections deliver live transaction feeds that eliminate manual data entry, but they require meticulous setup to prevent duplicate transactions and reconciliation nightmares. Before you connect any account, set the opening balance for that account on your official start date in QuickBooks Online, then reconcile that opening balance to your actual bank statement. Once you initiate the bank connection, QuickBooks Online will pull transactions going backward from your connection date, so any transaction you’ve already entered manually will appear twice. This is why you set the opening balance first and avoid manually entering transactions before you connect.
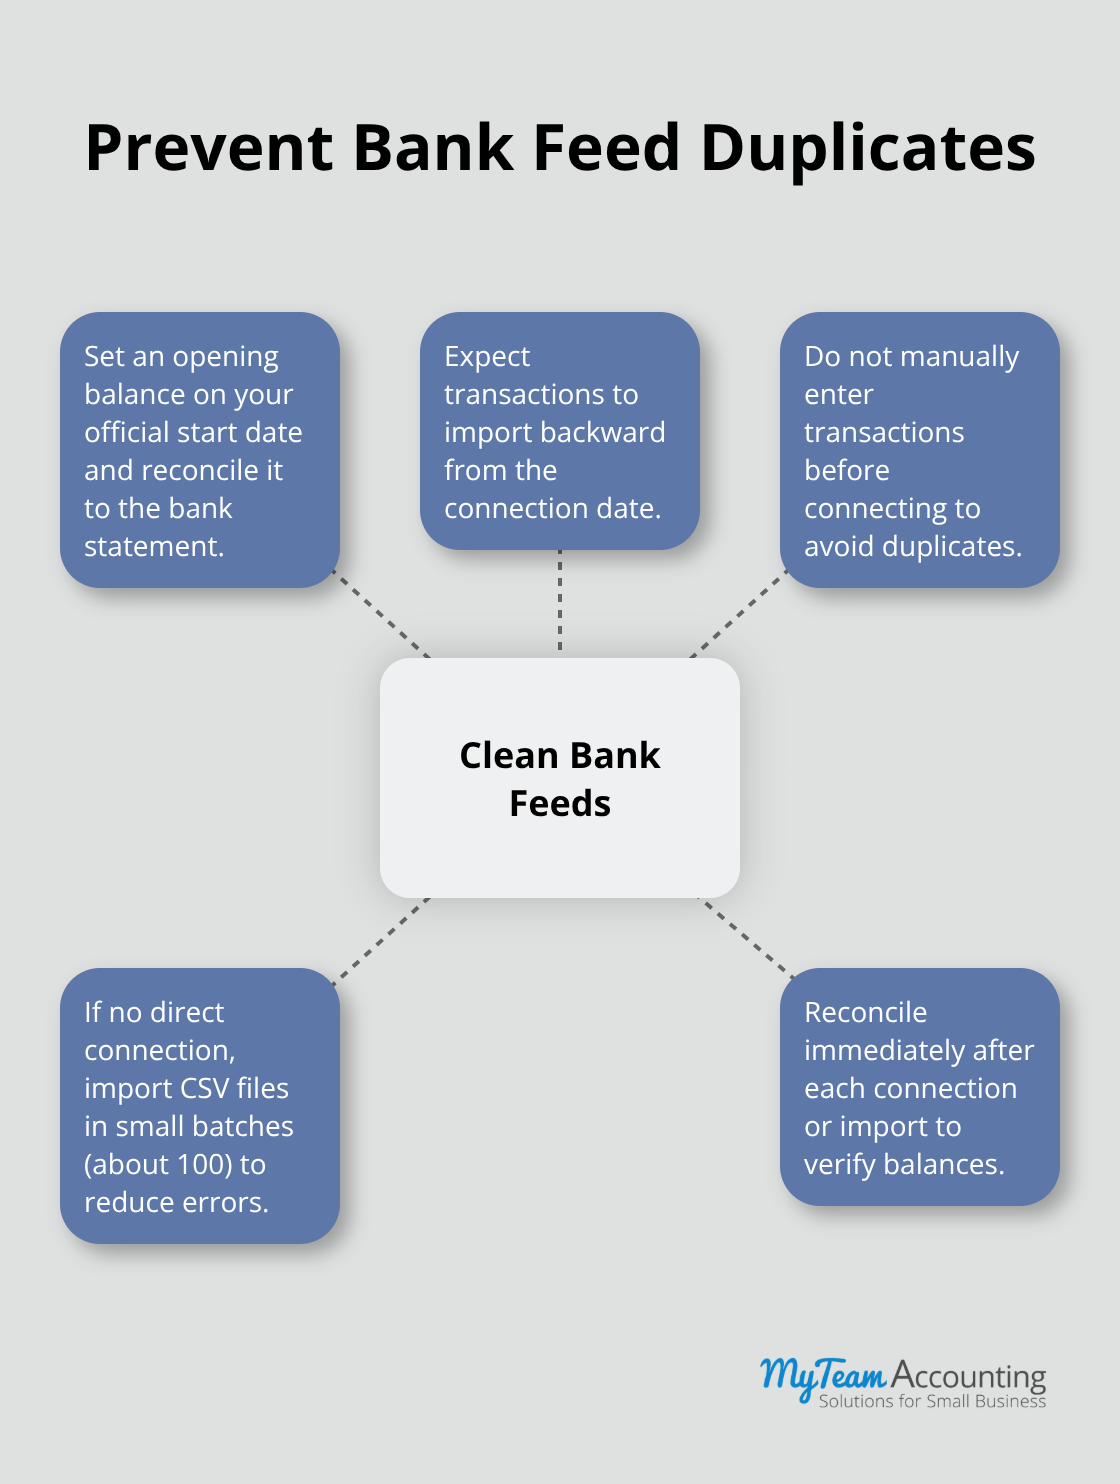
If your bank does not support direct connection through QuickBooks Online’s integration partners, download your bank transactions as a CSV file and import them through the Settings menu, but limit each import to 100 transactions maximum to reduce errors. After you import or connect any account, run a bank reconciliation immediately to confirm that opening balances match and that no duplicates exist.
Add Third-Party Integrations Thoughtfully
Third-party integrations like Salesforce, Google Sheets, and payroll systems can extend QuickBooks Online’s functionality, but only add integrations you will actually use daily. Each integration adds complexity, creates another login to manage, and introduces another potential point of failure during month-end close. If you’re considering an integration, verify that the app appears in the official QuickBooks Online App Store and check whether it charges monthly fees beyond your QuickBooks subscription. Start with core integrations-bank connections and payroll-then add specialized tools only when your basic setup runs smoothly.
Final Thoughts
Your QuickBooks Online onboarding process now positions your business for accurate financial reporting and efficient month-end closes. The preparation work you invested upfront-organizing documents, designing your Chart of Accounts, and configuring user permissions-eliminates the scrambling that derails most new implementations. Your opening balances are set, your bank accounts are connected, and your team has the access levels they need to work without creating chaos.
The mistakes that sink QuickBooks Online onboarding are predictable and avoidable. Mixing personal and business expenses during setup complicates reconciliation for months afterward, while importing twelve months of historical transactions creates duplicate entries that take weeks to untangle. Forgetting to record owner draws or contributions properly throws off your equity balances and confuses your accountant, and ignoring open invoices and overdue bills hides your true cash flow position when you need visibility most.
Try running your three core financial reports monthly: Profit and Loss, Balance Sheet, and Accounts Receivable aging. Reconcile your bank accounts within five days of month-end to catch errors while they’re fresh, and use monthly-close checklists to keep your books in shape throughout the year rather than scrambling during tax season. If you need expert guidance to refine your QuickBooks Online onboarding strategy, our team can help you establish processes that stick.